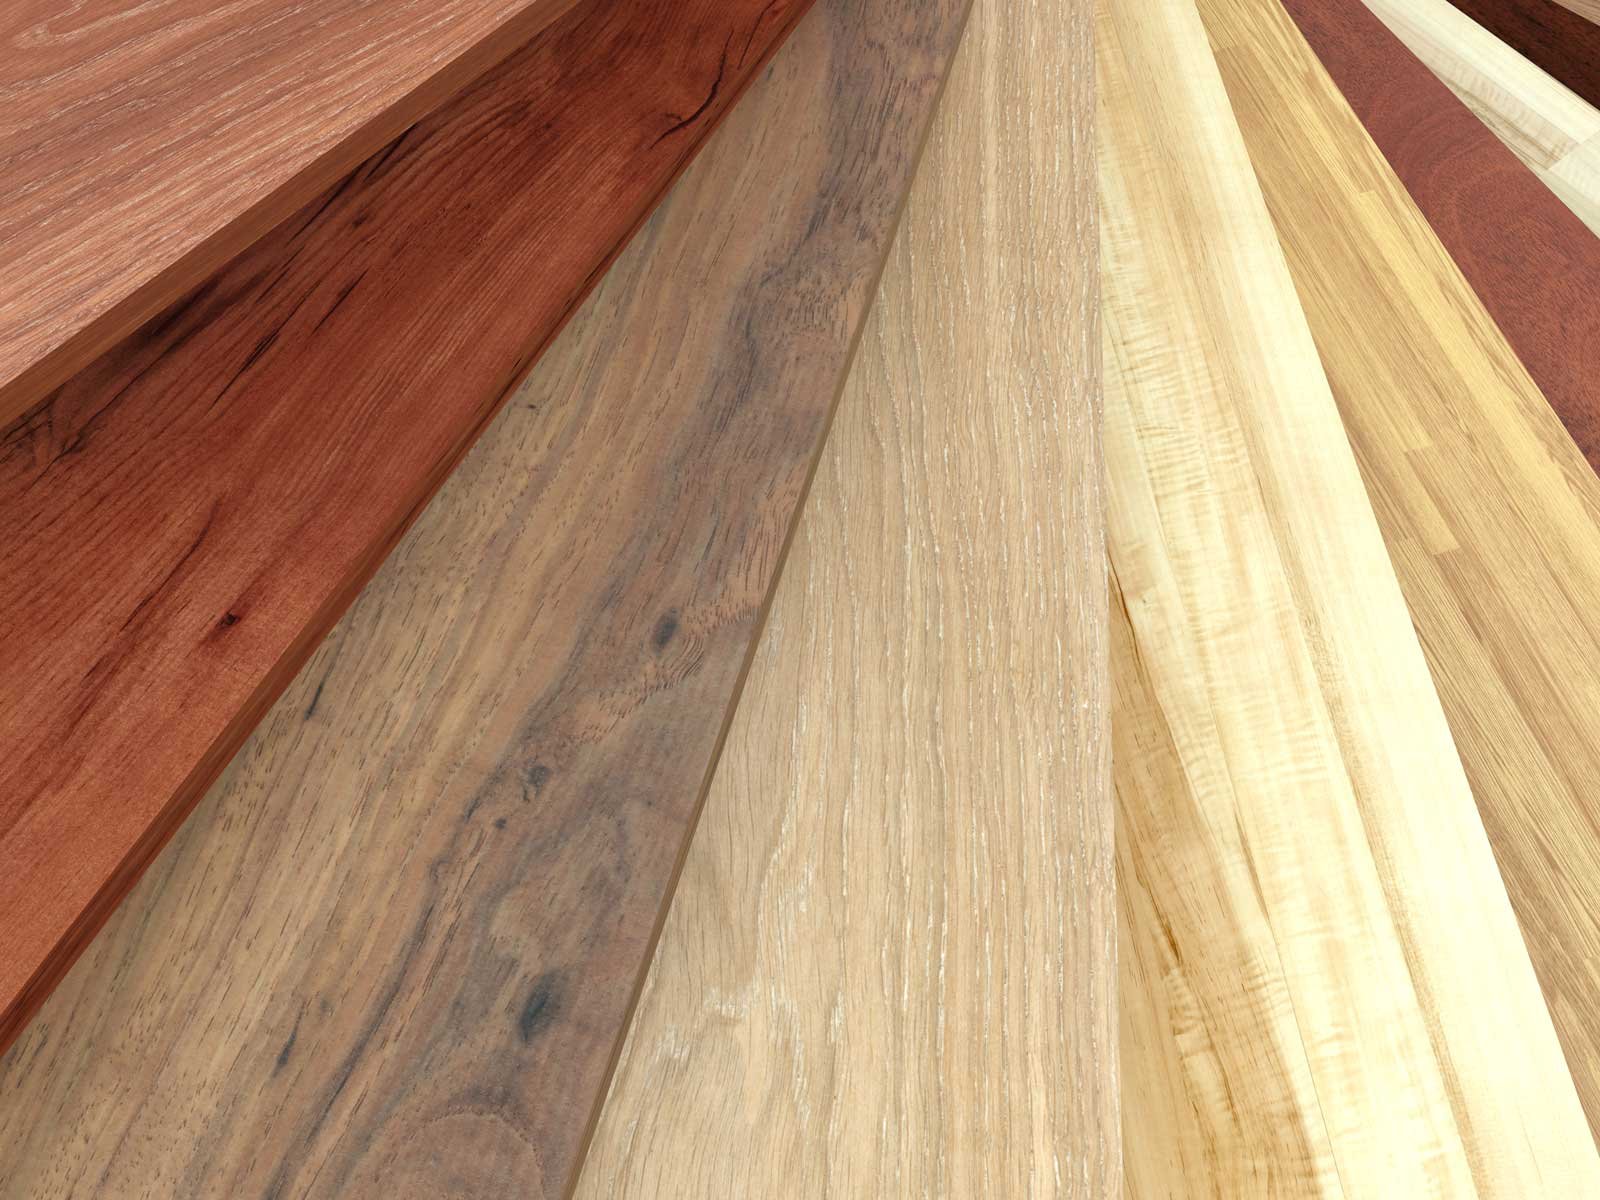
Hardwood floors are without a doubt, beautiful. Unfortunately for anyone who wishes to have the look of hardwood in their home, the renovation can be extremely trying on their wallet and personal time. Hardwood flooring is a great undertaking, so if you don’t have the time or money, what is the best alternative?
Laminate flooring is an impressively effective choice when it comes to avoiding the great installation costs, while lending a similar look! For most laminate flooring installations, you don’t even need to have a contractor involved! Here’s the easy guide to installing laminate flooring in your home:
Preparation
- Purchasing materials - Materials you’ll need are:
- A crowbar
- Laminate flooring panels (measure first to know how much you need! Always make sure to buy at least 20% more than you think you need.)
- A saw
- Spacers
- Rubber Mallet
- Caulking compound
- Shoe molding
- Moisture barrier
- Measuring tape
- Unpackage all the laminate flooring you’ve bought, and let it be for a couple days. This step allows the laminate panels to adjust to the atmosphere, temperature, and air quality of your home, so that when you do install it, it won’t buckle or warp the flooring.
- Clear the room of furniture and any set shoe molding with your crowbar, placing the laminate flooring down. This allows you to predict exactly what the floor will look like when you’re done, and if you want to change your plans before becoming engrossed in the project.
Installation
- Place moisture barrier over the sub-floor, making sure to keep them from overlapping, or wrinkling.
- Start placing boards on the floor, beginning from the largest wall. Allow a little space between the panels and the wall (at least 5/16 of an inch), and be sure to have the groove of the laminate panel facing the wall.
- Begin to attach boards together. Be careful not to damage the tongue of the boards you are attaching, and remember to keep to the instructions per the manufacturer's box. This can be as simple as using your rubber mallet to gently snap two boards together.
- Continue connecting boards, cutting off excess when necessary (if a wall is slanted etc.) until the floor is completely covered.
- Replace shoe molding to cover the gap between the flooring and the wall.
- Fill any small remaining cracks or spaces with caulking, and that’s it! Your laminate floor is now finished!
See? It’s as easy as 1-2-3. If you’re unsure about what laminate flooring would look best in your home, or want to find out about local pricing for boards, feel free to send us an email or drop us a line at Eckard’s Flooring!


